Here they are…
the Sweet Anna’s top 11 recipes of 2011! (According to you guys!!)
#10 perfect baked caramel corn


Have you tried any of these?
Are there any recipes that didn’t make this list that you think should have??

Real Food... Real Life
Here they are…
#10 perfect baked caramel corn
Have you tried any of these?
Are there any recipes that didn’t make this list that you think should have??

I have been seeing a lot of apple fritter recipes around the web lately… and really, who doesn’t love a good apple fritter?
I was actually contemplating getting out the frying pan and making some today, but I quickly realized I am just not up for that kind of mess.
Or the smells of frying anything.
Food and I are not the best of friends these days…
So I decided to whip up some apple fritter muffins instead! Much easier!!
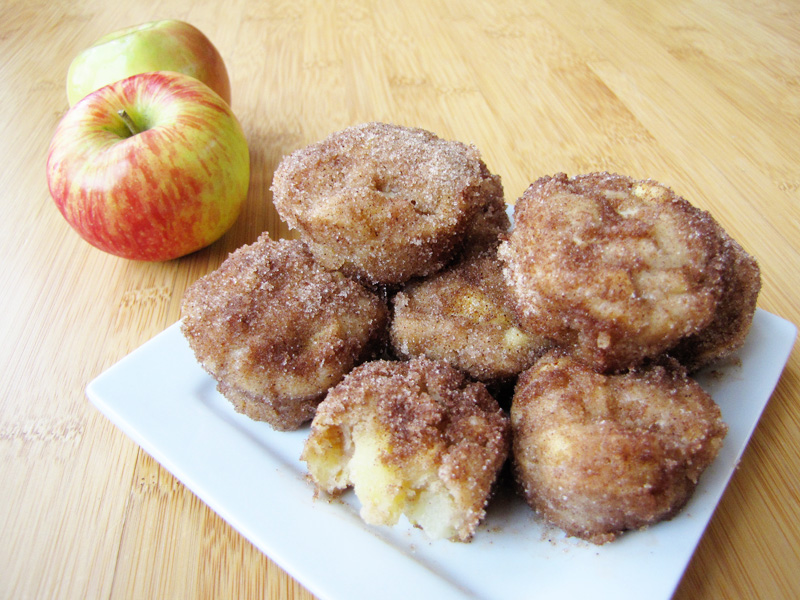
I took a simple cinnamon-sugar muffin batter, filled it with tons of apples and rolled it all in browned butter and cinnamon & sugar.
Yum, yum, YUM!
This little treat hit the spot. I wish you could come over and have some pretend apple fritters with me!
Baked Apple Fritter Muffins Recipe
loosely adapted from Smitten Kitchen
makes 36-40 mini muffins, depending on the size of your tins
Ingredients:
for the coating:
2/3 cup sugar
1 tablespoon cinnamon
1/2 cup butter, melted and browned*
for the muffins:
1 1/2 cups flour
1 1/2 teaspoons baking powder
1 1/2 teaspoons cinnamon
1/4 teaspoon nutmeg
1/4 teaspoon salt
1/2 cup sugar
1/3 cup butter, softened
1 large egg
1 teaspoon pure vanilla extract
1/2 cup milk
3 cups finely diced apples (about 3 large)
Directions:
Preheat the oven to 350ºF.
In a small bowl, stir together the sugar and cinnamon for the topping; Set aside.
*To brown the butter: In a small saucepan, melt the butter over medium-low heat until melted and starting to foam. Stir occasionally while the butter continues to cook, turning a bit brown on the bottom and smelling rich and nutty. When the butter is browned and aromatic, pull it off the heat and set aside.
Butter or spray 2-24 ct. mini muffin pans and set aside.
In a medium bowl, whisk together the flour, baking powder, cinnamon, nutmeg & salt.
In the bowl of your mixer, cream together the 1/3 cup butter and 1/2 cup sugar until light and fluffy. Beat in the egg and vanilla until well combined.
Gently stir in the flour and milk, a bit at a time and alternating (1/3 of the flour, 1/2 of the milk, 1/3 flour, 1/2 milk, 1/3 flour) until just combined.
Fold in the apples and spoon into the muffin tins, about 3/4 full. (You won’t probably fill all of both pans, but you will get more than one pan-full!).
Bake for 15-20 minutes, until the muffins a springy when you press them and a toothpick inserted in to one of them comes out clean.
Remove the muffins to a wire rack until they are just cool enough to touch.
When you can pick them up… take each muffin and dip it in the browned butter and then roll it in the cinnamon/sugar mixture.
Serve warm with a big glass of cold milk!

Are you hosting a part on New Year’s Eve? Or attending a bring-something-to-share party?
Here are some party-friendly food ideas!
Some of which we will be having at our house this year… if I can get my tired pregnant self off the couch long enough to make them, that is!
—-
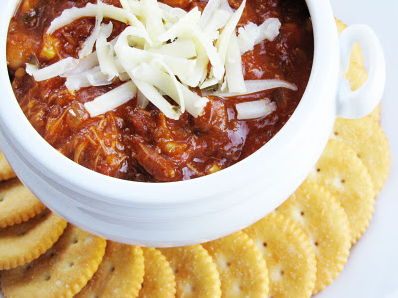
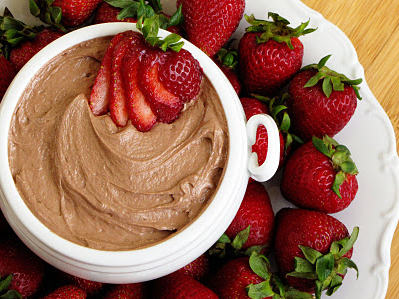
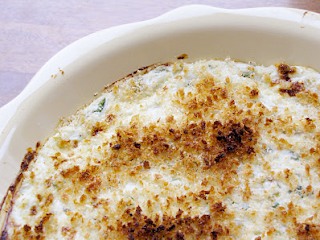
jalapeño popper dip with tortilla chips

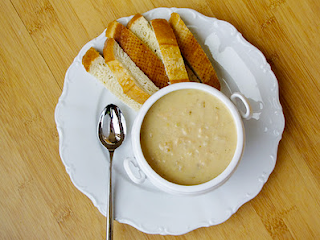
slow-cooker cheddar fondue with bread & apple dippers
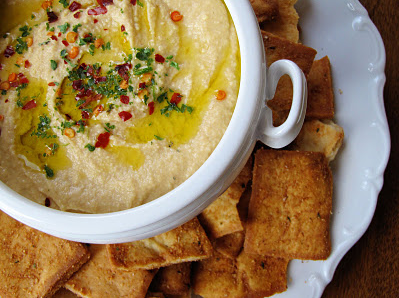
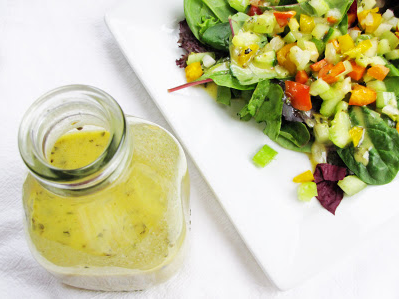
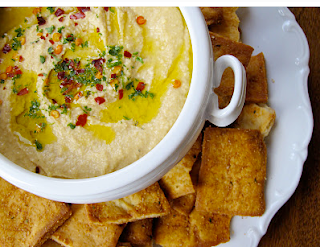
copy-cat Trader Joe’s mediterranean-style hummus with rice crackers and pita chips
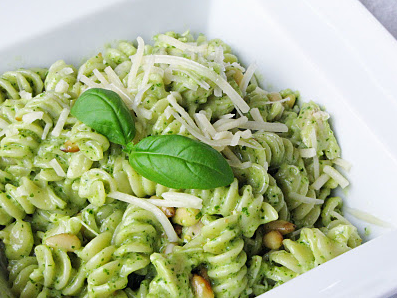
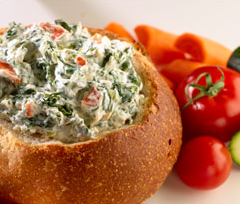
spinach dip with bread & veggie dippers
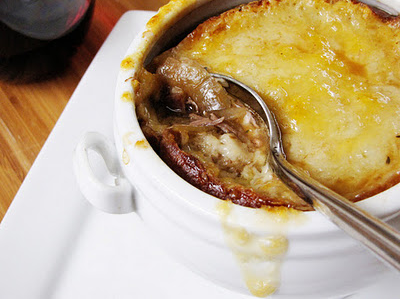
& of course, no party is complete without the classic onion dip and potato chips!
What are you serving (or looking forward to eating!) for the holiday?

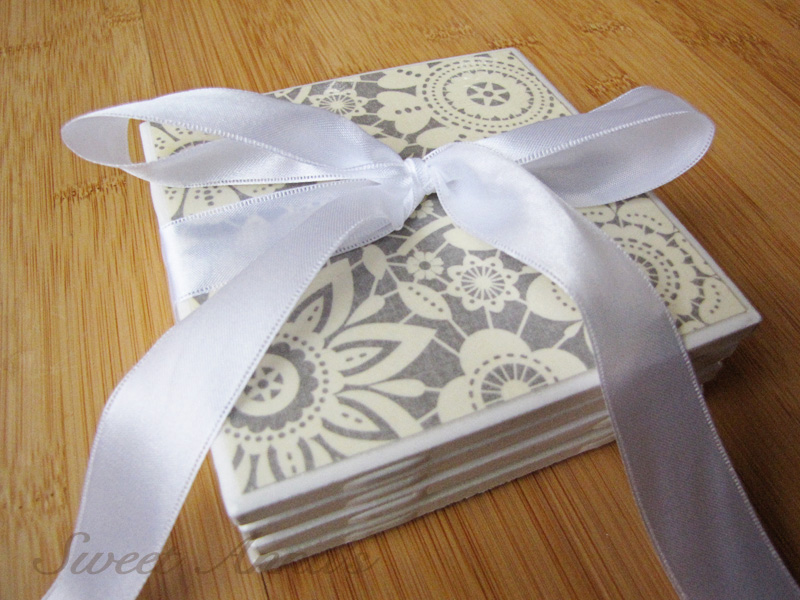
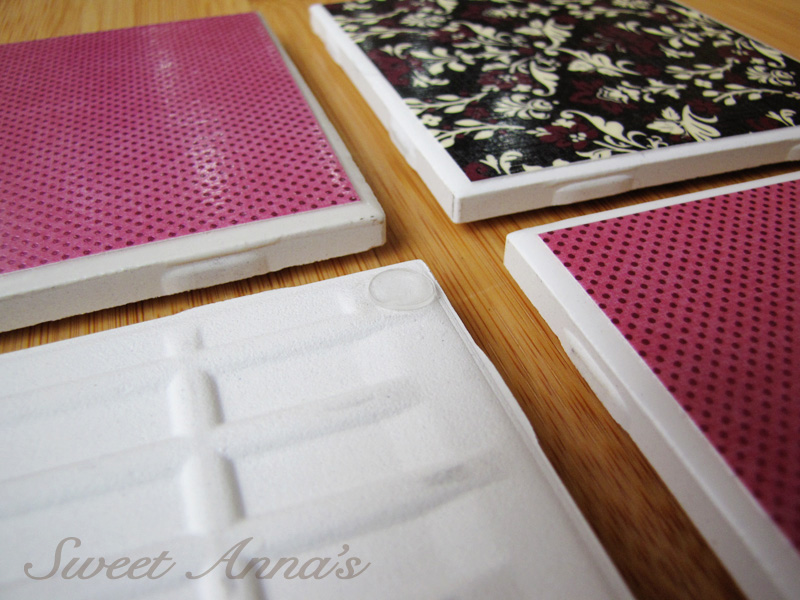
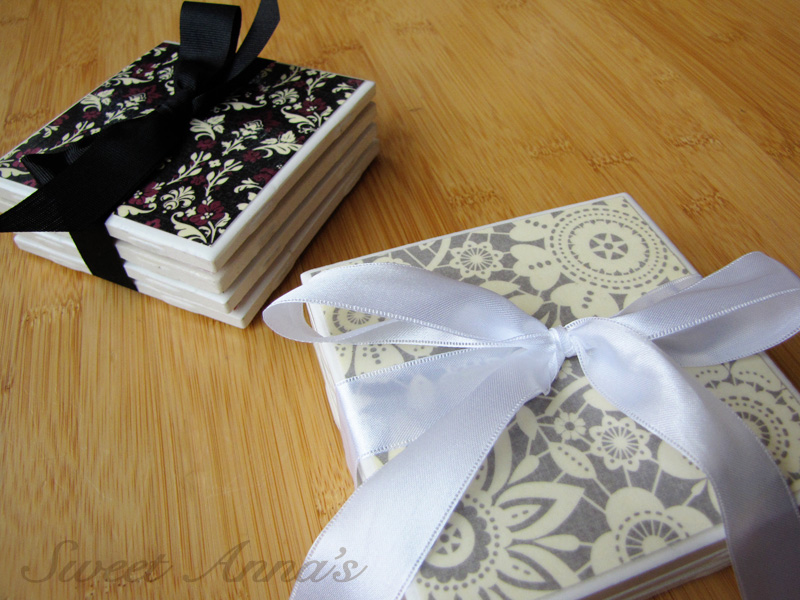
Our favorite Christmas gifts we made this year were homemade tile coasters!
(I’m sorry I couldn’t post this up before the holidays so you could make them this year too, but I didn’t want to spoil the surprise for everyone who was getting them for Christmas!)
The other gift we made this year was Homemade Pure Vanilla Extract! Also super easy to make and fun to give!
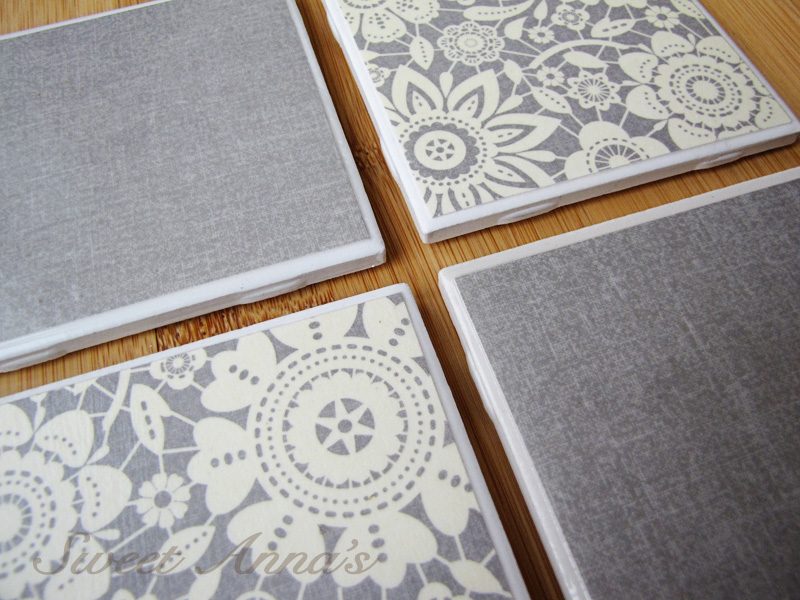
These coasters were so easy and fun to make… we made 50 and could have easily made more if we had the supplies!
I know we’ll be making them again… I want a bunch more for our house!
We used cabinet-door stops for the bottom, because we had easy access to those. I love how sturdy they are… but felt or cork would work just as good.
Then we wrapped them up in coordinating sets of 4 and tied them with ribbon for gifting!
(Thanks for the inspiration Pinterest!!)
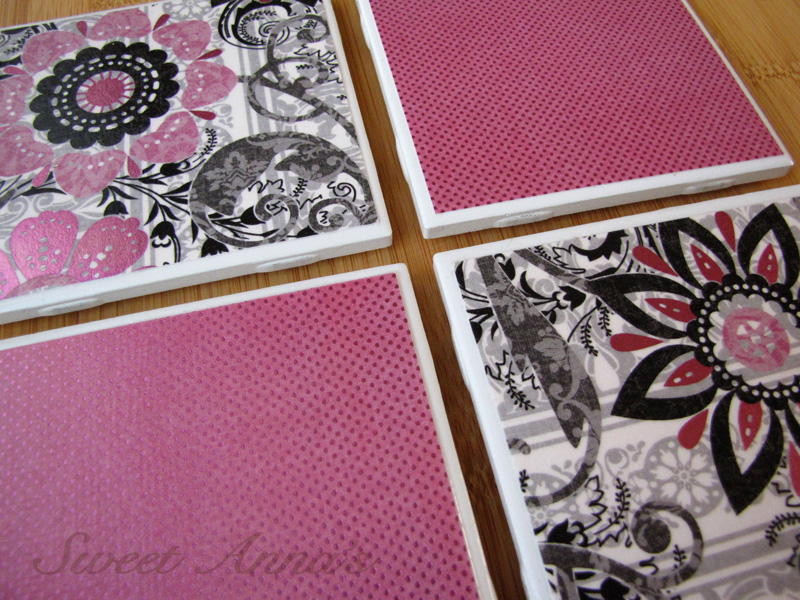
These would also be so cool with pictures on them instead of scrapbook paper. Just cut pictures to size and proceed as directed.
I plan on trying that next!
Homemade Tile Coasters Instructions
adapted from The Cottage Home
Supplies:
4 1/4″ tiles (you can get them super cheap at Home Depot)
scrapbook paper
felt or cork or cabinet door stops
Mod Podge
sponge brush
strong glue (Fabri-tac or other)
clear spray acrylic sealer
Directions:
Carefully cut the scrapbook paper into 4×4″ squares. Cut the felt or cork to 4×4″ squares also, unless you are using door stops.
For each tile, spread a layer of Mod Podge onto a tile. Lay a piece of scrapbook paper on top, lined up nicely and let dry for a minute while you do the next few.
Now, spread another good layer of Mod Podge on top of the papered tile making sure to get the whole surface evenly. Let dry completely. (You can repeat this step if you’d like… we didn’t find it necessary!)
Once they are all papered, Mod Podged and dry, take them outside and spray them evenly with a coat of the clear acrylic. Let them dry completely before attaching the backing.
When they are completely dry, use the glue to attach felt or cork squares to the bottoms. Or if you have access to cabinet door stops, they are already sticky so no glue needed… just attach in the corners and press firmly!
Easy and fun!!

Did you ever have a lovey when you were a child?
What about your children?
A blankie… or a teddy bear… or a toy…
Something that they have to have with them… especially at sleep time?
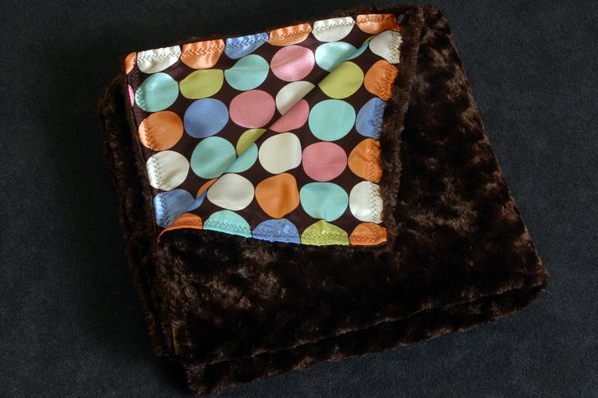
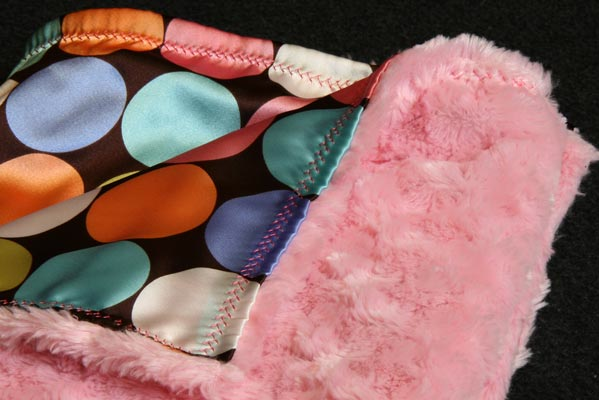
Bjørn never did, but Haakon found this little blankie (that I mostly used for nursing support) and cannot live without it!
He won’t sleep without it, and if he sees it, even across the room, a big smile lights up his face.
It’s adorable. Beyond adorable. It melts my heart, every time.
So, we finally had to go ahead an order a ‘backup’ blankie a little while ago. Unfortunately I realized after it showed up that I had ordered the wrong color (gasp!)… but thankfully he doesn’t seem to care.
He does know that there are 2 blankies (as Bjørn often feels the need to copy him and cuddle with the “over bankie”) but he is happy with either one, so we’re good for now!
AllyZabba has offered to give away a free TravelZabba in the color of your choice to one winner from my readers!
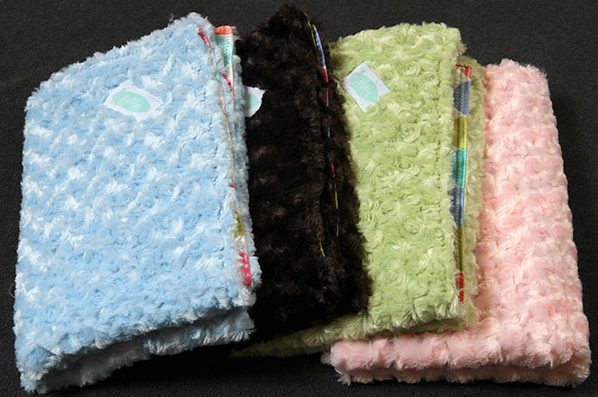
The Travel Zabba is the smaller-sized cuddle blanket that Haakon has, and it is perfect! Small enough to carry around without dragging everywhere, but big enough to cuddle and find easily in his bed at night.
Also, for the rest of you, they have generously offered my readers a 15% off discount code for anything on their website! Shop away!!
The AllyZabba discount code is: sweet15
To enter the giveaway:
1 (MANDATORY) entry: Leave a comment on this post telling me what your (or your kids!) lovey was!
1 optional entry: Like Sweet Anna’s on Facebook and come back and comment that you did!
1 more optional entry: Like AllyZabba on Facebook and come back and comment that you did!
(For a total of 3 possible entries!)
This giveaway ends on December 30th at 11:59pm PST. The winner will be contacted via email and announced on Facebook the next day!
And the winner is:

Vanessa! (Congratulations!!) Check your email and get back to me soon!
Our holiday festivities will be in full swing starting tomorrow, so I won’t be posting for a few days! Have a wonderful Christmas friends… and we’ll see you back here soon!