homemade playdough

I have some great memories of sitting at my grandma’s kitchen table with my cousins and several colorful blobs of homemade playdough.

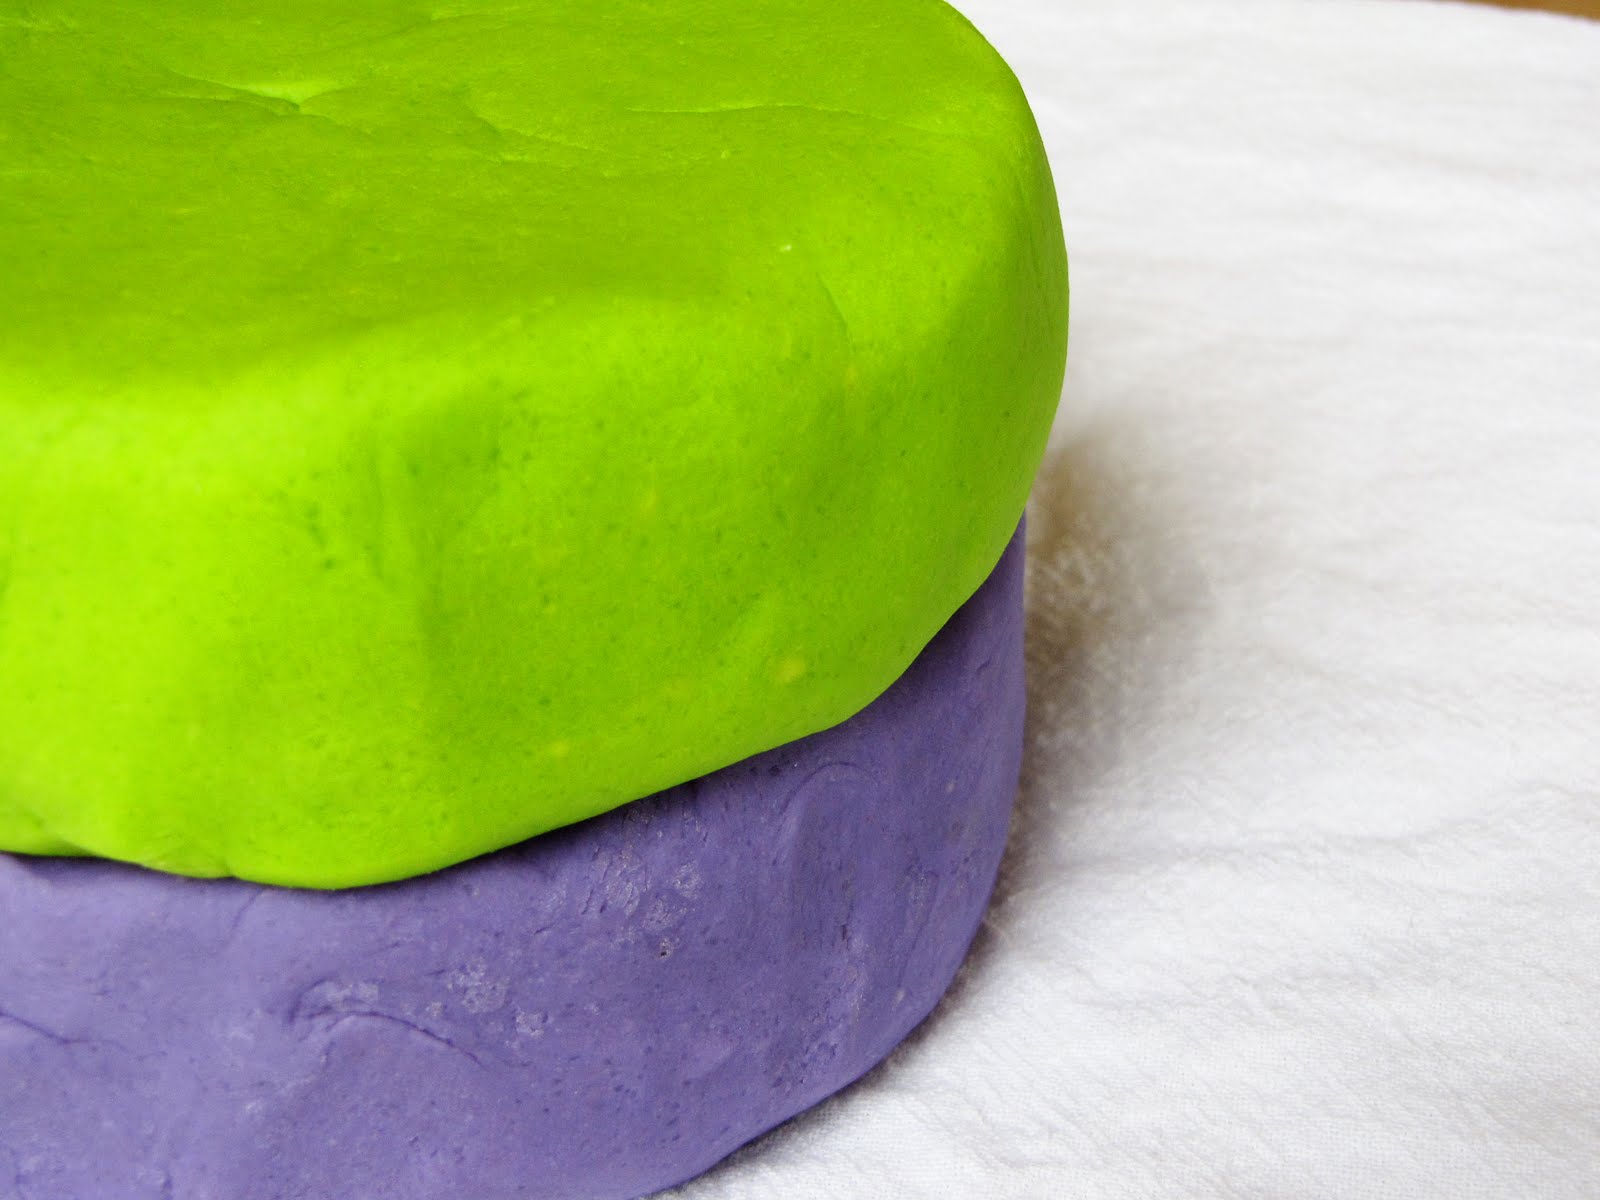
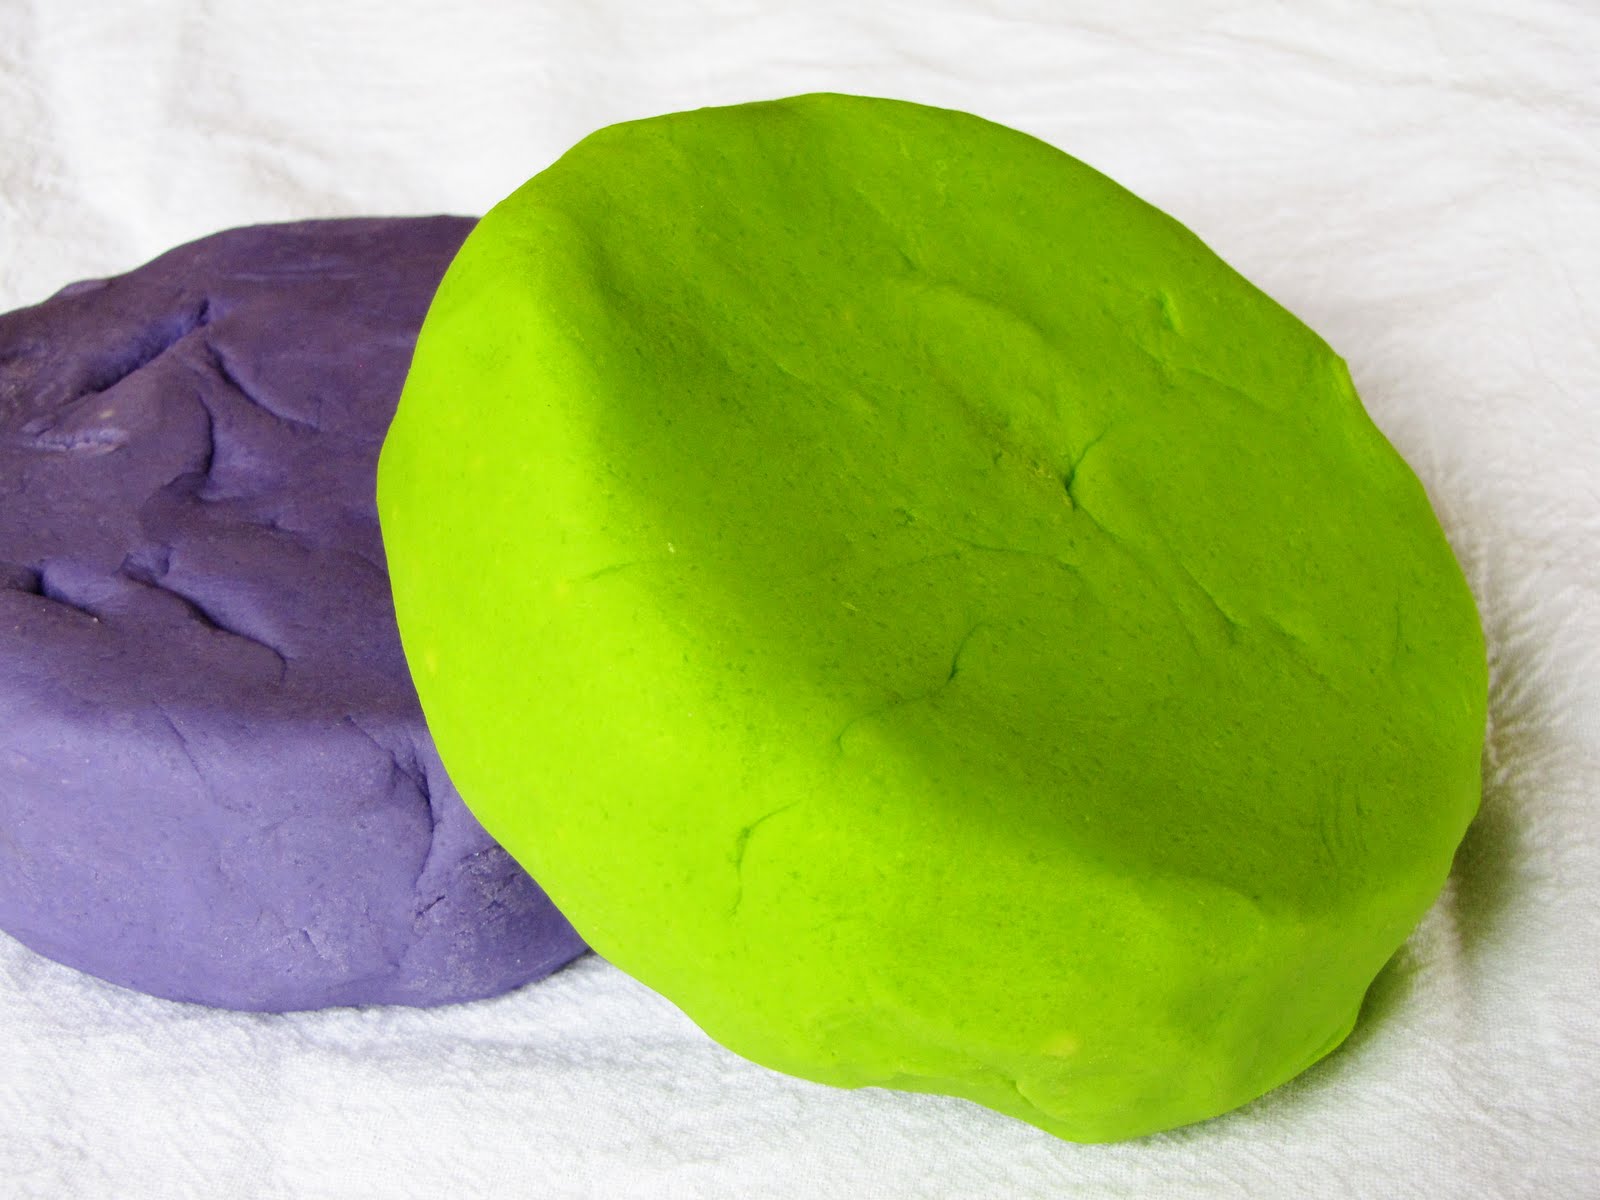
We loved those blobs… the colors, the smell, and yes… occasionally even the taste!

Gross? A little. But not really… Compared to commercial play-doh full of chemicals and who-knows-what, the homemade stuff is harmless!

Flour, salt, oil, water… nothing there you wouldn’t eat in a more tasty form on a regular basis.

I rarely let my kids play with commercial Play-doh because I just can’t get past how gross it seems. I mean, you know it’s gonna be tasted at some point, right?! And I would rather know exactly what’s going into my toddler’s mouth, if at all possible!

I must admit though… In my opinion, even better than avoiding all the junk is the cost. You just can’t beat throwing together something cheap out of stuff you already have in your pantry.

Cheap homemade playdough = happy kids & happy mommies!!

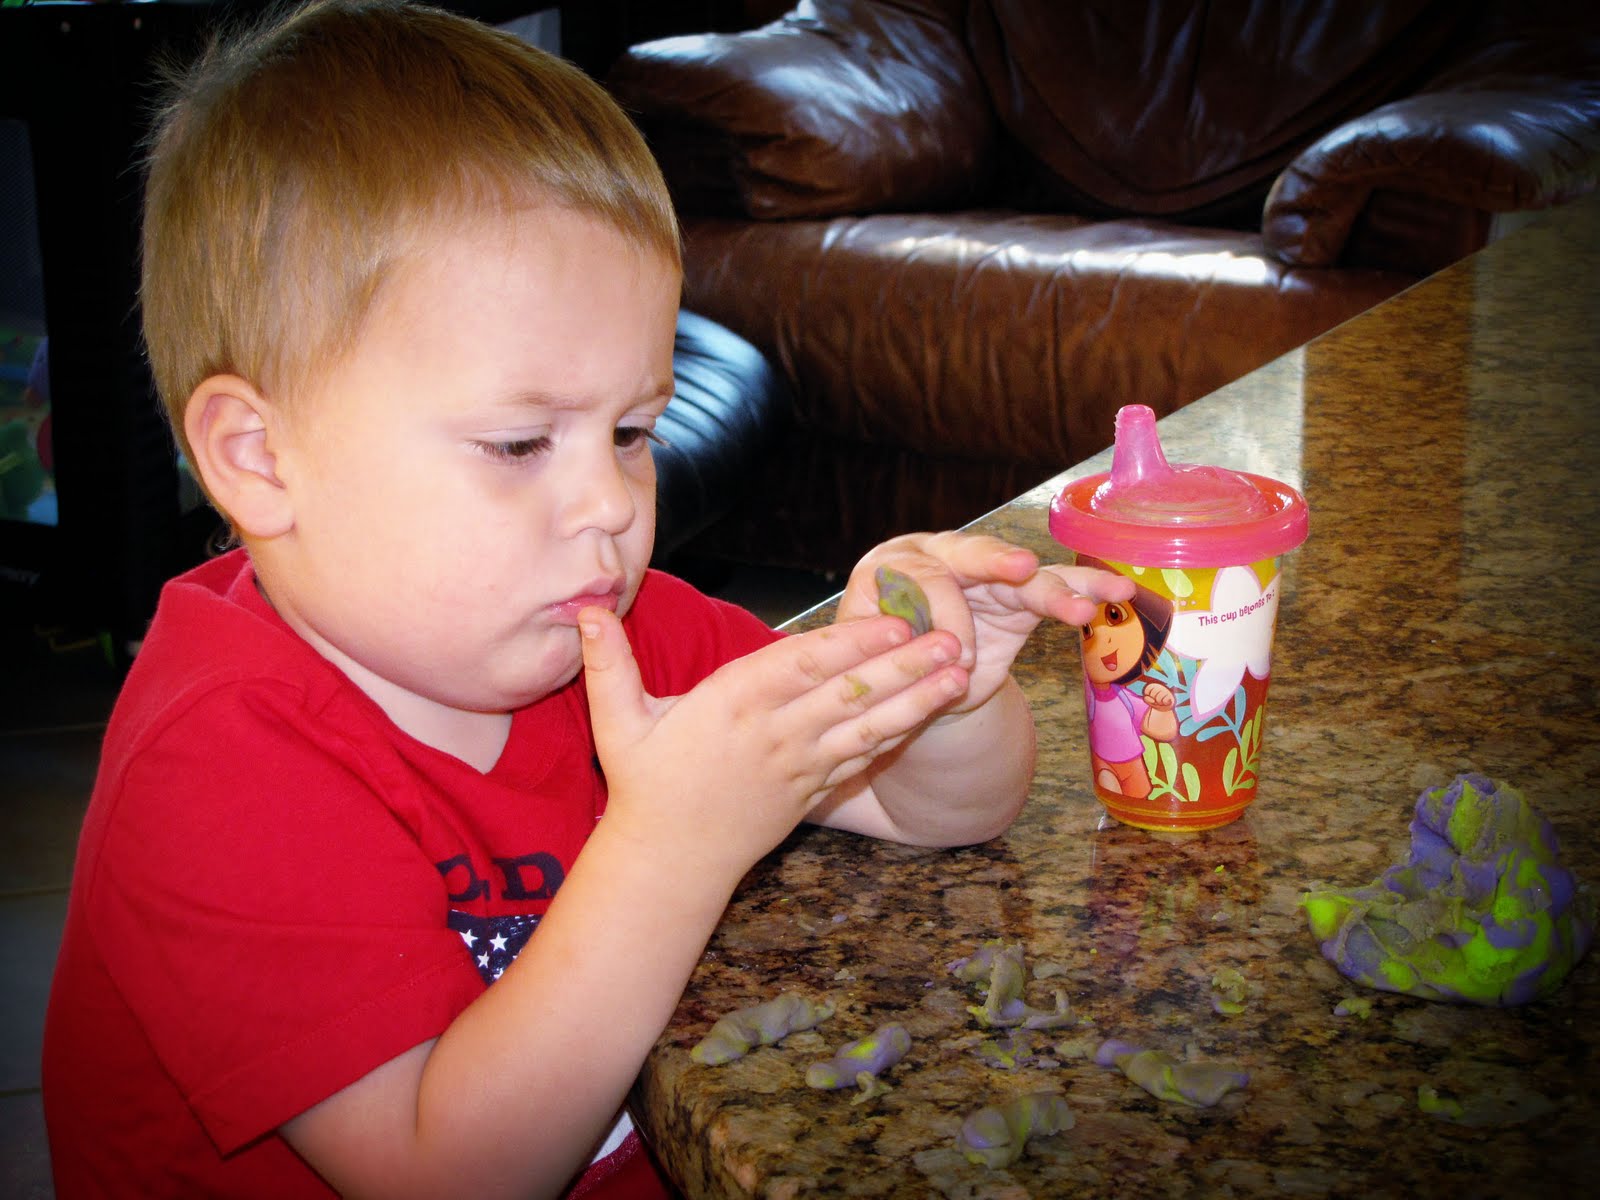
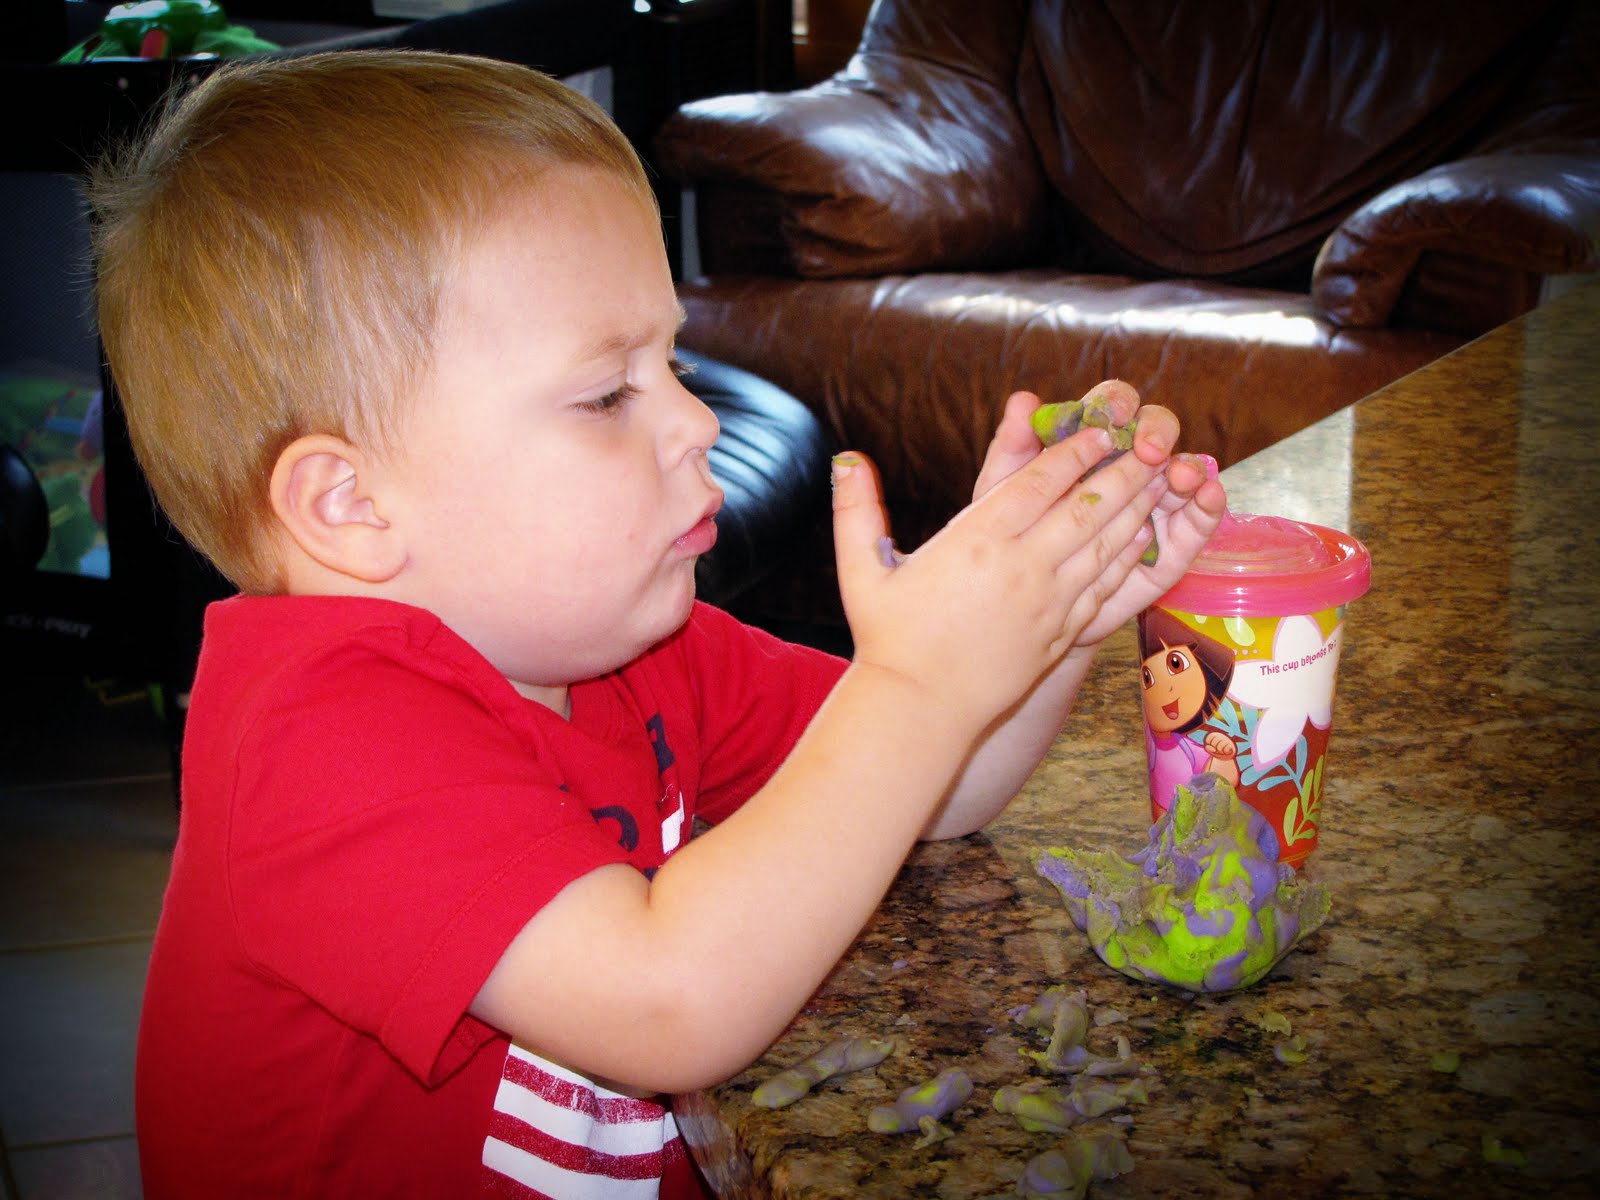
(and yes, when you’re a 2 year old boy, it is vitally important to mix the two pretty colors into a swirly-brownish blob before commencing playtime!) :o)

Homemade Playdough Recipe

Ingredients:
2 cups flour
2 cups warm tap water
1 cup salt
2 tablespoons vegetable oil
1 tablespoon cream of tarter (optional)
up to 1 tube food coloring

Directions:
Stir together in a medium pot over medium-low heat. Continue to cook, and stir, until the mixture forms a ball and is no longer sticky (like Play-doh!). If it’s still sticky, you just need to cook it longer!

Let the playdough cool to room temperature before playing with it… and store it in tupperware between uses!

baby teeth

This little guy finally popped out his first tooth!

As happy as I am for him, I am also a little sad to see his big toothless-grin disappear.

But I know I will love his baby-tooth grin just as much. And we get to see it all the time… he sure is one happy kid!

(Especially when he’s looking at Daddy!)

slow cooker steel-cut oatmeal

My aunt and uncle brought us a package of steel-cut oats, and it has been staring at me for several months… every single time I open the cupboard. (Thank you Uncle Gary & Aunt Marilyn!) :o)

I love steel-cut oats, and have made them before, but I just don’t love the time it takes to make them. Start them in the morning and by the time they’re done, you’ve already eaten 3 snacks and are almost ready for lunch! (What? You don’t wake up as hungry as I do??)

Anyways… this recipe perfectly solves that time problem! No fuss, no waiting (well, waiting while you sleep, but that just doesn’t count!) and you have a beautiful bowl of filling, delicious oatmeal waiting for you when you wake up!

(Not to mention the wonderful smell your house is filled with! Let me just tell you, it’s an amazing way to wake up in the morning. Take it one step further and set your coffee maker on auto and you’ve got a perfect morning all waiting for you!)

We like to eat ours topped with a bit more brown sugar and some milk or cream. Or my favorite - stir in some frozen berries and they will both thaw quickly in the hot oatmeal and cool down the oatmeal enough to eat without burning your mouth!

And in case you were wondering… my ohsopicky 2 year old loved this breakfast! And my justlearningtoeat 6 month old enjoyed a few little tastes as well! Oh, and our opinionatedarticulate 9 year old thought it was ok, but he “needs to get used to the texture of steel-cut oats.” :o)

And husband, if you are reading this… I plan on throwing this into the crockpot at least once or twice a week, if not every single day! ;o)

Slow Cooker Steel-Cut Oatmeal Recipe
adapted from The Hill Country Cook

Ingredients:
1 1/2 cups steel-cut oats
6 cups water
3/4 cup milk
3/4 cup firmly packed brown sugar
2 teaspoons pure vanilla extract
1 tablespoon cinnamon
2 tablespoons butter

Directions:
Stir everything together in your slow cooker. Turn on low and cook for 8 or so hours (while you sleep!).

When it’s done in the morning, it will still look funny (the cinnamon floats on the top and the water looks like it hasn’t absorbed!) but give it a good stir and it will all come together perfectly!

You can store any leftovers in the fridge to heat up later! (This amount makes enough for 4-5 big bowls of oatmeal.)


peanut butter chocolate m&m cookies

Wow, I have really been slacking on posting lately! I’m not really sure why… except that life gets a little chaotic sometimes, and things have to give here and there.

But, just because I haven’t been blogging much doesn’t mean that I haven’t been cooking much! (Or maybe it does? You’ll have to ask my husband!)

I was supposed to be working on a cake today that I need to bring to a surprise baby shower tonight, so of course I decided it was the perfect time to bake some cookies. (Hey, I can multi-task with the best of them!)

I love all things peanut butter & chocolate, and you just can’t go wrong with m&ms in a cookie. These cookies have an almost brownie taste to them, but with a chewy cookie texture. Yum!

Of course I had to switch to real butter (margarine? really!? Does anybody actually bake with that anymore??), but otherwise stuck pretty close to Momma Hen’s recipe! (Click here to check her recipe out.)

Peanut Butter Chocolate m&m Cookies Recipe

Ingredients:
1 cup butter, softened
1/2 cup peanut butter
1 1/2 cups sugar
2 large eggs
1 teaspoon pure vanilla extract
1/2 cup unsweetened dutch-processed cocoa
1 1/2 cups flour
1 teaspoon baking soda
1/2 teaspoon salt
1 cup chocolate chips
1 1/2 cups m&ms

Directions:
Preheat the oven to 350ºF.

In a large mixing bowl, cream together the butter, peanut butter and sugar until light and fluffy, 2-3 minutes. Beat in the eggs and vanilla until well blended.

In a medium bowl, whisk together the cocoa, flour, soda & salt. Mix into the creamed mixture until just blended. Stir in the chocolate chips and m&ms.

Drop onto parchment-lined baking sheets and bake for 11-13 minutes until just set. Cool completely on a cooling rack and store in the freezer!

homemade peanut butter cups & The Secret Recipe Club

I have a secret addiction to peanut butter cups. I love them. And I rarely buy them because I have no self-control when they are around.

Unfortunately now I have a super quick, easy way to make them at home, and that is probably not a good thing. (Unless you are planning on coming over to help me eat them all, of course!)

I found this recipe for homemade peanut butter cups over on Hoosier Homemade, and I just knew I had to try it out. It looked simple, and I even had all the ingredients on hand!

(The original recipe is here, if you’d like to go check it out!)

I joined The Secret Recipe Club recently, and that is how I found Liz over at Hoosier Homemade. The Secret Recipe Club is a fun little group of food bloggers who are each month assigned another food blog to try a recipe from and blog about it.

I love finding new inspiration and meeting new people, so I was excited to try this out… and I wasn’t disappointed! It was fun to be assigned a blog that I might have never found on my own and get to search for a fun recipe to try out for myself.

homemade peanut butter cups & The Secret Recipe Club

Ingredients

  • 1 1/2 tablespoons butter, softened
  • 1/2 cup powdered sugar
  • 1/2 teaspoon salt
  • 1 cup creamy peanut butter, divided (1/2 cup + 1/2 cup)
  • 2 cups semisweet chocolate chips
  • 4 regular-sized Hershey's bars, chopped (about 6.2 ounces)

Directions

Stir together the butter, sugar, salt & 1/2 cup of the peanut butter until smooth and creamy. Set aside.

In a microwave-safe bowl, melt together the remaining 1/2 cup peanut butter with the chocolate chips and Hershey's bars. (Microwave on High for 30 seconds at a time, stirring well each time, until smooth).

Line a 24-cup mini muffin pan with paper liners. Drop about 1/2 teaspoon or so of chocolate on the bottom of each paper. Tap the pan firmly on the counter to spread and settle the chocolate.

Spoon about a teaspoon of the peanut butter mixture into the center of each liner.

Spoon another teaspoon or so of the chocolate mixture on top of the peanut butter, just enough to cover. Tap the pan firmly again on the counter to settle the chocolate.

Place in the fridge to set for at least a few hours or up to a week before serving!

http://sweetannas.com/2011/06/homemade-peanut-butter-cups-secret.html

(Optional: Spoon the remaining chocolate mixture into a small ziploc bag, cut off one of the tips and drizzle some designs on your chocolates, if you’d like! Wait about 10 minutes before doing this, and microwave the chocolate a few more seconds if needed before drizzling.)

Notes:

I really enjoyed this recipe and will definitely be making these again!! I tried really hard to stick with the original recipe this time, and I think I did a pretty good job. :o)

The only changes I would make next time would be to double the recipe and try to balance out the chocolate/peanut butter ratio a bit more to my preference! (More chocolate, less peanut butter!). Thanks for a great recipe, Liz! This was fun!!